Download Windows 11 on a flash drive and run it on any computer
Any user can download Windows 11 on a flash drive and get a mobile version of the new operating system that works on any computer.
These portable OS installs are useful when you just want to try out an operating system without changing whatever platform you have on your internal hard drive or SSD. They can be useful when you want to take your operating system and software with you when you use more than one computer.
Now, thanks to the popular free Rufus program that enables the user to create bootable flash drives, you can create a portable copy of Windows 11 that works from a flash drive that you carry in your pocket.
With Rufus' Windows to Go feature, users can easily run the same copy of Windows 11 on two different computers.
The latest version of Rufus not only allows you to create a Windows to Go edition of Windows 11, but also lets you avoid the TPM and CPU requirements of the new operating system.
Now we'll show you in detail how to create a portable copy of Windows 11 that runs from a portable flash drive and then how to use it when switching between computers.
Download and install Windows 11 on a flash drive
A portable Windows 11 installer installed on a USB drive is useful if we don't want to install Windows 10. Portability is somewhat limited as when we move to a device Otherwise, we will be asked to reset your PIN. But all we need is a fast USB 3 drive and we can enjoy Windows 11 without touching our old installs.
1. Download and install the latest version of Rufus on your device. As of October 19, 2021, the latest version is 3.16 which includes Windows 11 Extended Image support.
2. Insert a blank USB drive of 64GB or larger and open Rufus. The faster the USB drive, the better because it will become the main drive.
3. Choose the USB device you want to install Windows 11 on.
4. Make sure the boot option says “Disc or ISO image” and click Download.
5. Choose Windows 11 and click Continue.
6. Select the latest version and click Continue.
7. Select the version and click Continue.
8. Select your preferred language and click Continue.
9. Select the build and click Upload. A new window will open asking you where to save the ISO image. Save it to your Downloads folder.
10. Wait for the download to complete.
11. Click on the Image dropdown option and select Windows To Go. This will install Windows 11 directly to the USB drive.
12. Double check that the correct drive is selected and click Start to start the installation.
13. The burning process can take a while, depending on the USB drive used, when finished, remove the drive and insert it into the device you wish to boot from.
14. Turn on the device you want to use for Windows 11, and press the button that allows you to boot from the flash drive and it varies from computer to computer.
15. Select your Windows 11 boot drive and boot.
16. Follow the instructions to install Windows 11 and set up the mobile version.
Now that you're done, your USB stick contains a complete installation of Windows 11, ready to go wherever you want.
Using Windows 11 Flash Drive on Any Device
Each time a flash drive with Windows 11 Portable is inserted into a device, you will be prompted to verify your identity.
1. Insert the Windows 11 USB into a new device and boot.
2. Click Set up my PIN on the login screen to start the verification process.
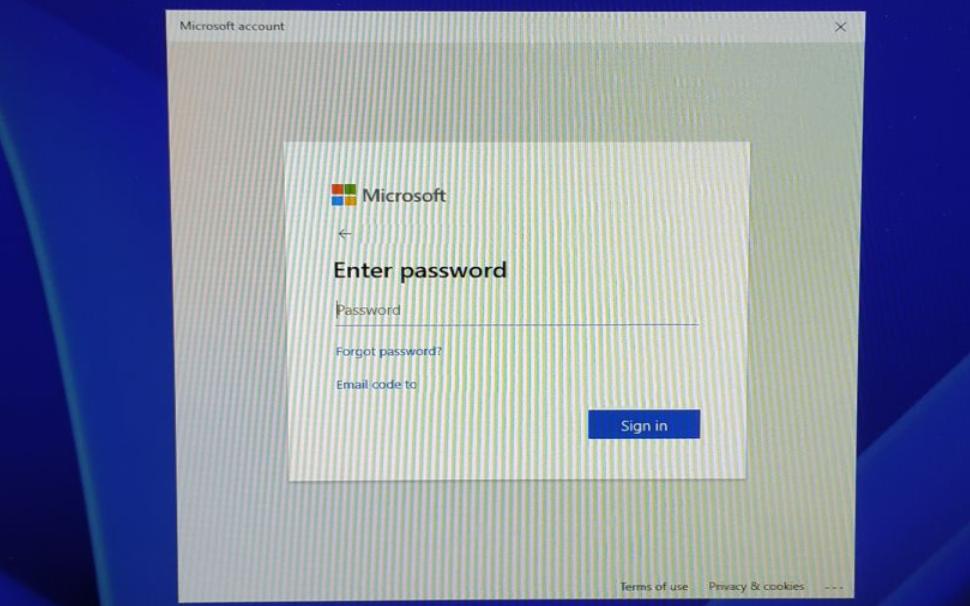
3. Enter the account details used when setting up Windows 11, in our case it was a Microsoft account.
4. Click Email, then Email Address, then to send a verification email to your account.
5. On another device, open the verification message and type the code at the Windows 11 prompt.
6. When prompted to reset your PIN, click Continue.
7. Create a new PIN and click OK to continue with the login process.
You will have to repeat this process each time you switch from one computer to another. However, if you're playing a USB disk on the same computer over and over again, you don't need to do that.
